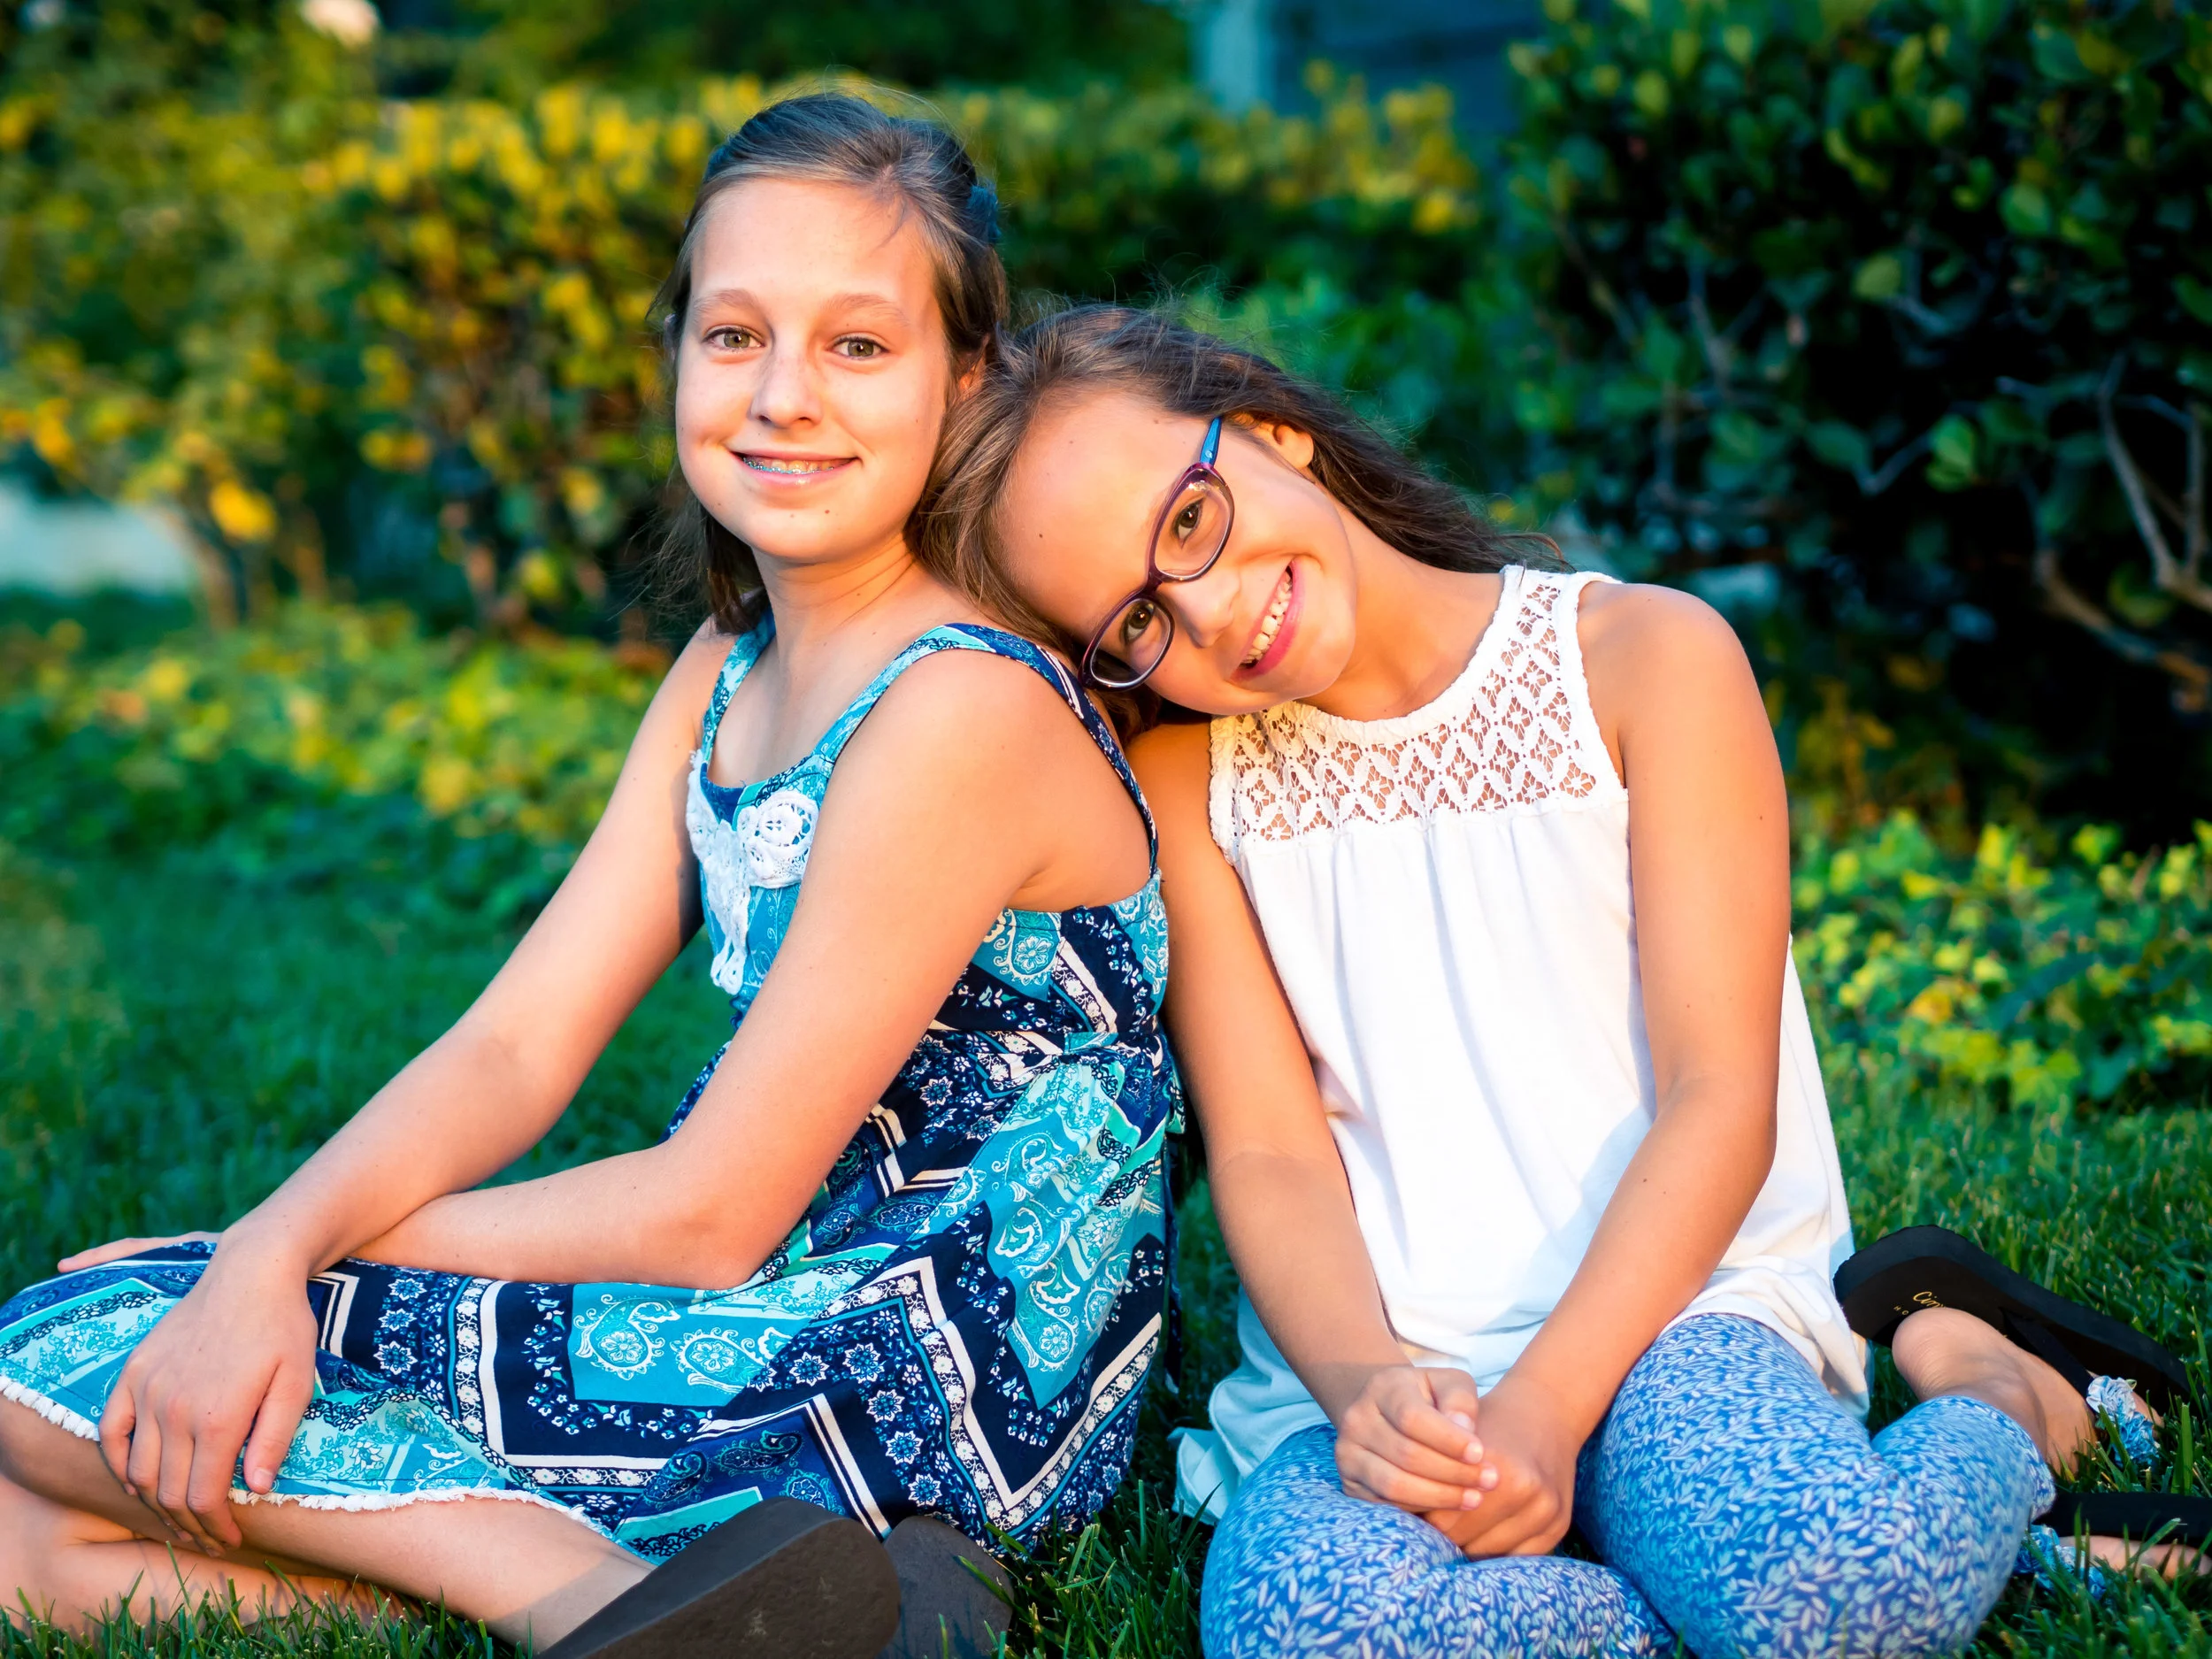
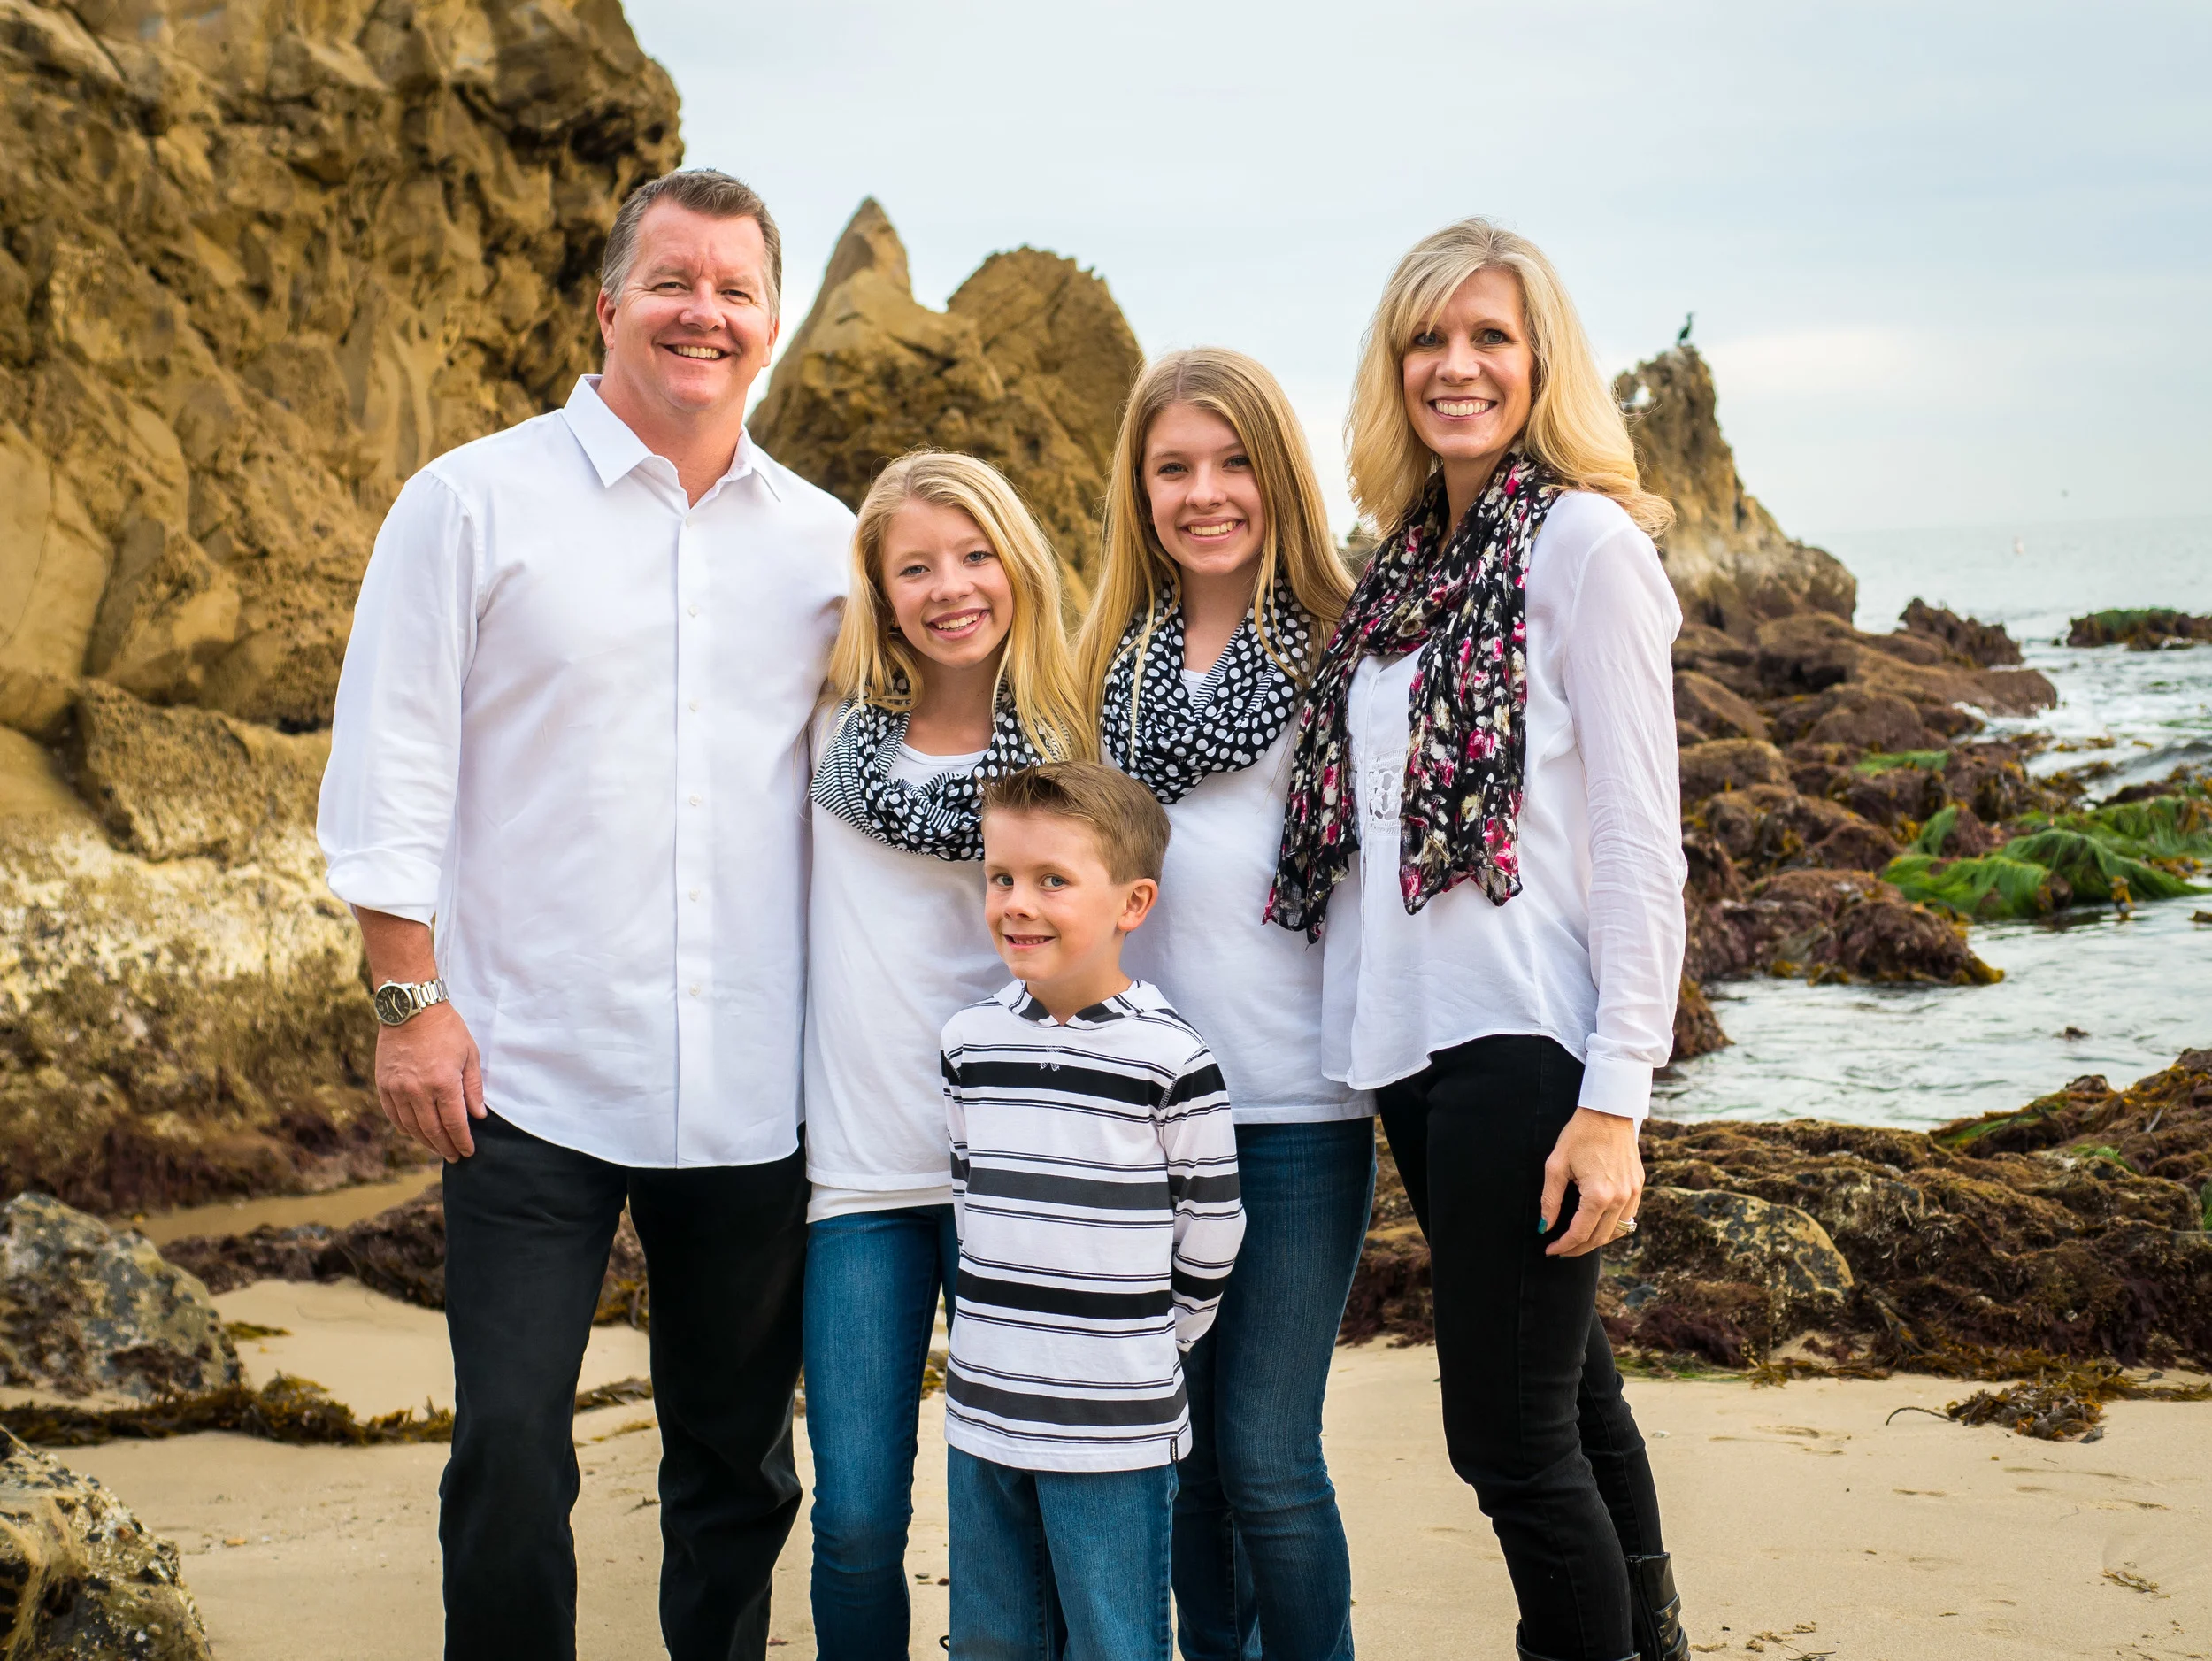
Family Portraits the Easy Way

Family portrait sessions can be great fun, but not everyone wants to go out to a park or the beach to get them done.  Sometimes, the best option happens to be your own back yard!  It's quick and easy, and the best part is that I come to you.  No need to get your kids in the car and hike to a destination.  Take a look at some of these photos from family portrait sessions I've done at clients' homes.  Family portraits make a great Christmas gift; book between now and the end of 2017 to get 10% off a portrait session.

Rule of Thirds

rule of thirds.jpg

Does your camera offer a tic tac toe like grid over the display?  Have you ever wondered what it's there for?  I used to think that the grid acted as a way to center my subject, so everything I shot was squarely in the middle of each picture.  A lot changed about the way that I look at scenes when I found out what they were truly there for.

Those lines aren't there to offer help in centering an image, they are there to offer a guide for what is known as the "Rule of Thirds".  This is a composition technique in which the frame is divided into three parts from left to right and three parts top to bottom.  When the subject of a picture (like your model or other interesting bits) where these lines intersect, it tends to gather more intrigue than subjects placed squarely in the middle.  It balances subject with empty space in a way that centering doesn't and is more pleasing to the eye.  Here's an example:

The first picture looks just fine, but notice the difference when you click to the next image.  In the first photo, the bird is in the center, but the "story" lies in the subject's head position. The viewer naturally wants to follow its gaze.  By placing the bird to the right and upper third of the screen, we get a better sense of balance which is more pleasing overall.  Here's another example along the same lines:

Once again, the first picture by itself works well enough.  When it's compared to the second picture, however, one can see the difference.  Not only are we allowed to follow the gaze of the lifeguard, but we are also able to see the entire ramp, more of the environment around him, and once again achieve a better balance of subject and empty space.  

Here's one last image:

This one is fairly well centered left to right.  However, this time, the horizon is placed squarely in the bottom third of the picture.  The sky takes up the rest of the shot and it balances the busy lower third with a tranquil upper two thirds.  

The rule of thirds is not an absolute.  There are many, many great pictures with the subject centered, and  sometimes, that's exactly what you may be after.  Nevertheless, try lining up the interesting elements in your picture (a tree, a person, a street sign, etc.) with one of those grid lines next time you're out taking pictures and see what comes out of it.  You may find something quite intriguing!

Thanks for reading!  If you liked this tip, "like" my photography page on Facebook and share this story with friends.  Stay tuned and I'll be sure to update this page with more tips in the weeks to come!


C'mon, just smile!!!

I was at the Lego Store with my son yesterday, and I noticed a lot of parents taking pictures of their kids and their creations.  I also overheard them saying in exasperated tones, "just smile," "look at ME," and "c'mon, just one picture!"  It was hard for the kids to stop playing long enough for their parents to get a picture, and it gave me the idea for this blog post.  

Not too bad, but he looks really stiff.  I can tell he just wants to get back to playing!

Some kids love the camera.  You turn it on and they are in front of it and striking perfect poses.  For the rest of us, telling your kids to "smile" sometimes results in resistance, arguing, and finally an awkward smile at best.  I wanted to test this out on my son so I told him to hold his creation up and smile.  This is what I got.  I told him to hold it higher, and he held it up way over his head; not the look I was going for.  


These aren't bad pictures, and there's nothing wrong with posing.  As a photographer, I tell people to do it all the time.  For me, however, I like to try to get a more natural look in my pictures.  After I got the shots above, instead of asking him to smile, I started asking him questions about what we were doing while keeping my camera on him and this is what I got.

I asked him to tell me about his spaceship, and a look of mischief crept into his face.  I asked him where the pilot sits and he turned the ship around to point.  I asked him how fast his spaceship goes, and he zoomed it across his chest.  None of these pictures have him looking directly at the camera, and none were really posed, but I think it shows off his personality and the moment of play so much better.

The next time you are out with your kids and want to capture a moment, try to set them up where you want them to be, and just talk to them.  Snap away as they just be themselves.  You may find that while you won't get the perfect traditionally posed shot, you may come away with something even better!

As always if you liked this post, feel free to share it on Facebook and like my page. Thanks for reading!

Maisie

I remember watching my niece Maisie a couple years ago as the cartwheeling magic carpet in Aladdin.  Seeing how much she enjoyed it, I knew she was a natural for the stage.  She's kept with it playing bigger and bigger roles until most recently, she played Tiger Lily in her school's production of Peter Pan.  When she needed some head shots taken, I was happy to do them for her.  Remember this face everybody, she's going to be famous! 


Stoop to Their Level

One of my main motivators to improve my photography was to get better pictures of my kids.  I would follow them around snapping picture after picture and I was disappointed when so many of them came out just mediocre.  In my next couple blog posts, I'd like to share a couple simple tips that have helped me shoot a higher percentage of "keepers," hopefully you'll find something you can use!

One of the easiest things you can do to improve photography of your kids is to get down to their level.  Being taller than your kids means that you are constantly shooting down at them.  This can look great if you mean to shoot from this perspective.  It makes your kids look smaller and it shows your kids as you see them.  In the right circumstances, shooting down can make some really good looking shots.  It can also mean that you have a lot of pictures of your kids with nothing but flooring as the backdrop.

Here are a couple examples from some casual shots that I took this weekend.  We were at downtown Brea by some cool looking fountains.  This first shot would be a typical picture you may take of your kid.  I shot it standing up a few feet in front of my son as he was about to start to play.  It's not too bad of a shot, but you have no sense of where we are and it's mostly just the top of his head.  


In this shot, I knelt down to be level with him.  Being down at his level is not only a more flattering perspective, but also allows for the setting to be more accurately represented.  


I try to get down to about eye level of my subjects every time I shoot, and I tend to get much better results than standing straight up.  Here's one of my daughter as well taken from the same perspective. Give it a try, and I hope you get some great shots!

If you found this helpful, please click on the Facebook link below and "like" my page.  Thanks!

Light and Shadow

When I started taking pictures, the one thing that I was most worried about was my subject.  I thought that as long as I had something interesting in front of me, It would be easy to snap a good picture.  As it pertained to my kids, I was most concerned with simply getting them to look at the camera at the same time and give me a halfway decent expression.  While those things are important, it's really only part of the battle.

The position of the sun is one of the most crucial elements of your outdoor pictures, and the time of day can drastically change the quality of light you get.  The hour right after sunrise or the hour just before sundown usually gives you great light.  It's generally a good idea to go out and shoot at those times, but what if you find yourself wanting to take a picture and it just so happens to be the middle of the day?

Big Sur, California

Here's a picture of my kids taken with the sun right overhead.  I love this photo because of the memories it captures. It's a great location and they both stayed still long enough for me to get them in front of a beautiful backdrop, but do you notice the effect of the light on this picture?  The sun was casting some really harsh light resulting in some severe shadows cast on their faces.  If you look back at some of your own family snapshots, I bet you'll notice this effect taking place in many pictures taken during the middle of the day.  So what can you do to neutralize this undesirable look?

Oak Canyon Nature Center, CA

There are many solutions available, but one of the easiest things you can do is simply move into the shade.  It sounds simplistic, but just look at the result.  Here's another picture of my kids that I took recently right around noon.  We went out on a short hike and I found a spot under some trees.  There was more than enough ambient light around, but the shade eliminated all of the harshness of the direct sunlight.  The light is even and there aren't any shadows cast on them at all.  You might not always be able to find a spot like this, but being mindful of the way the light is affecting your subject can go a long way in improving your image.  Now grab your camera and go!

If you liked this post, please click on the Facebook link below and "like" my page.  Thanks!